How to Stop Brute Force Attacks on Your WordPress Login Page (Without Plugin Overload)
Bots are hitting your WordPress login page right now. Here's how to stop brute force attacks with 4 targeted steps — no plugin stack needed.
Four targeted steps that close the most exploited entry point on WordPress — without installing a stack of security plugins that slow down your site.
By Sheikh Hassaan — Web developer for service businesses
Quick Answer
To stop brute force attacks on your WordPress login page: change the login URL from the default /wp-admin to a custom path, limit login attempts to 3 failures before lockout, enable two-factor authentication on all admin accounts, and block XML-RPC if you don't use the WordPress mobile app or Jetpack. These four steps, applied together, eliminate the vast majority of automated login attacks.
What a Brute Force Attack Actually Is (And Why Your Site Is Already a Target)
A brute force attack is automated. There is no person sitting at a keyboard trying passwords on your site. It is a bot — or more accurately, a network of bots — cycling through username and password combinations at a rate of hundreds or thousands per minute, testing them against your login page until something works.
WordPress sites are disproportionately targeted for one simple reason: predictability. The default login URL is always /wp-admin or /wp-login.php. The most common default username used to be 'admin.' The login form accepts unlimited attempts by default. Every bot attacking WordPress sites knows exactly where to go and what to try.
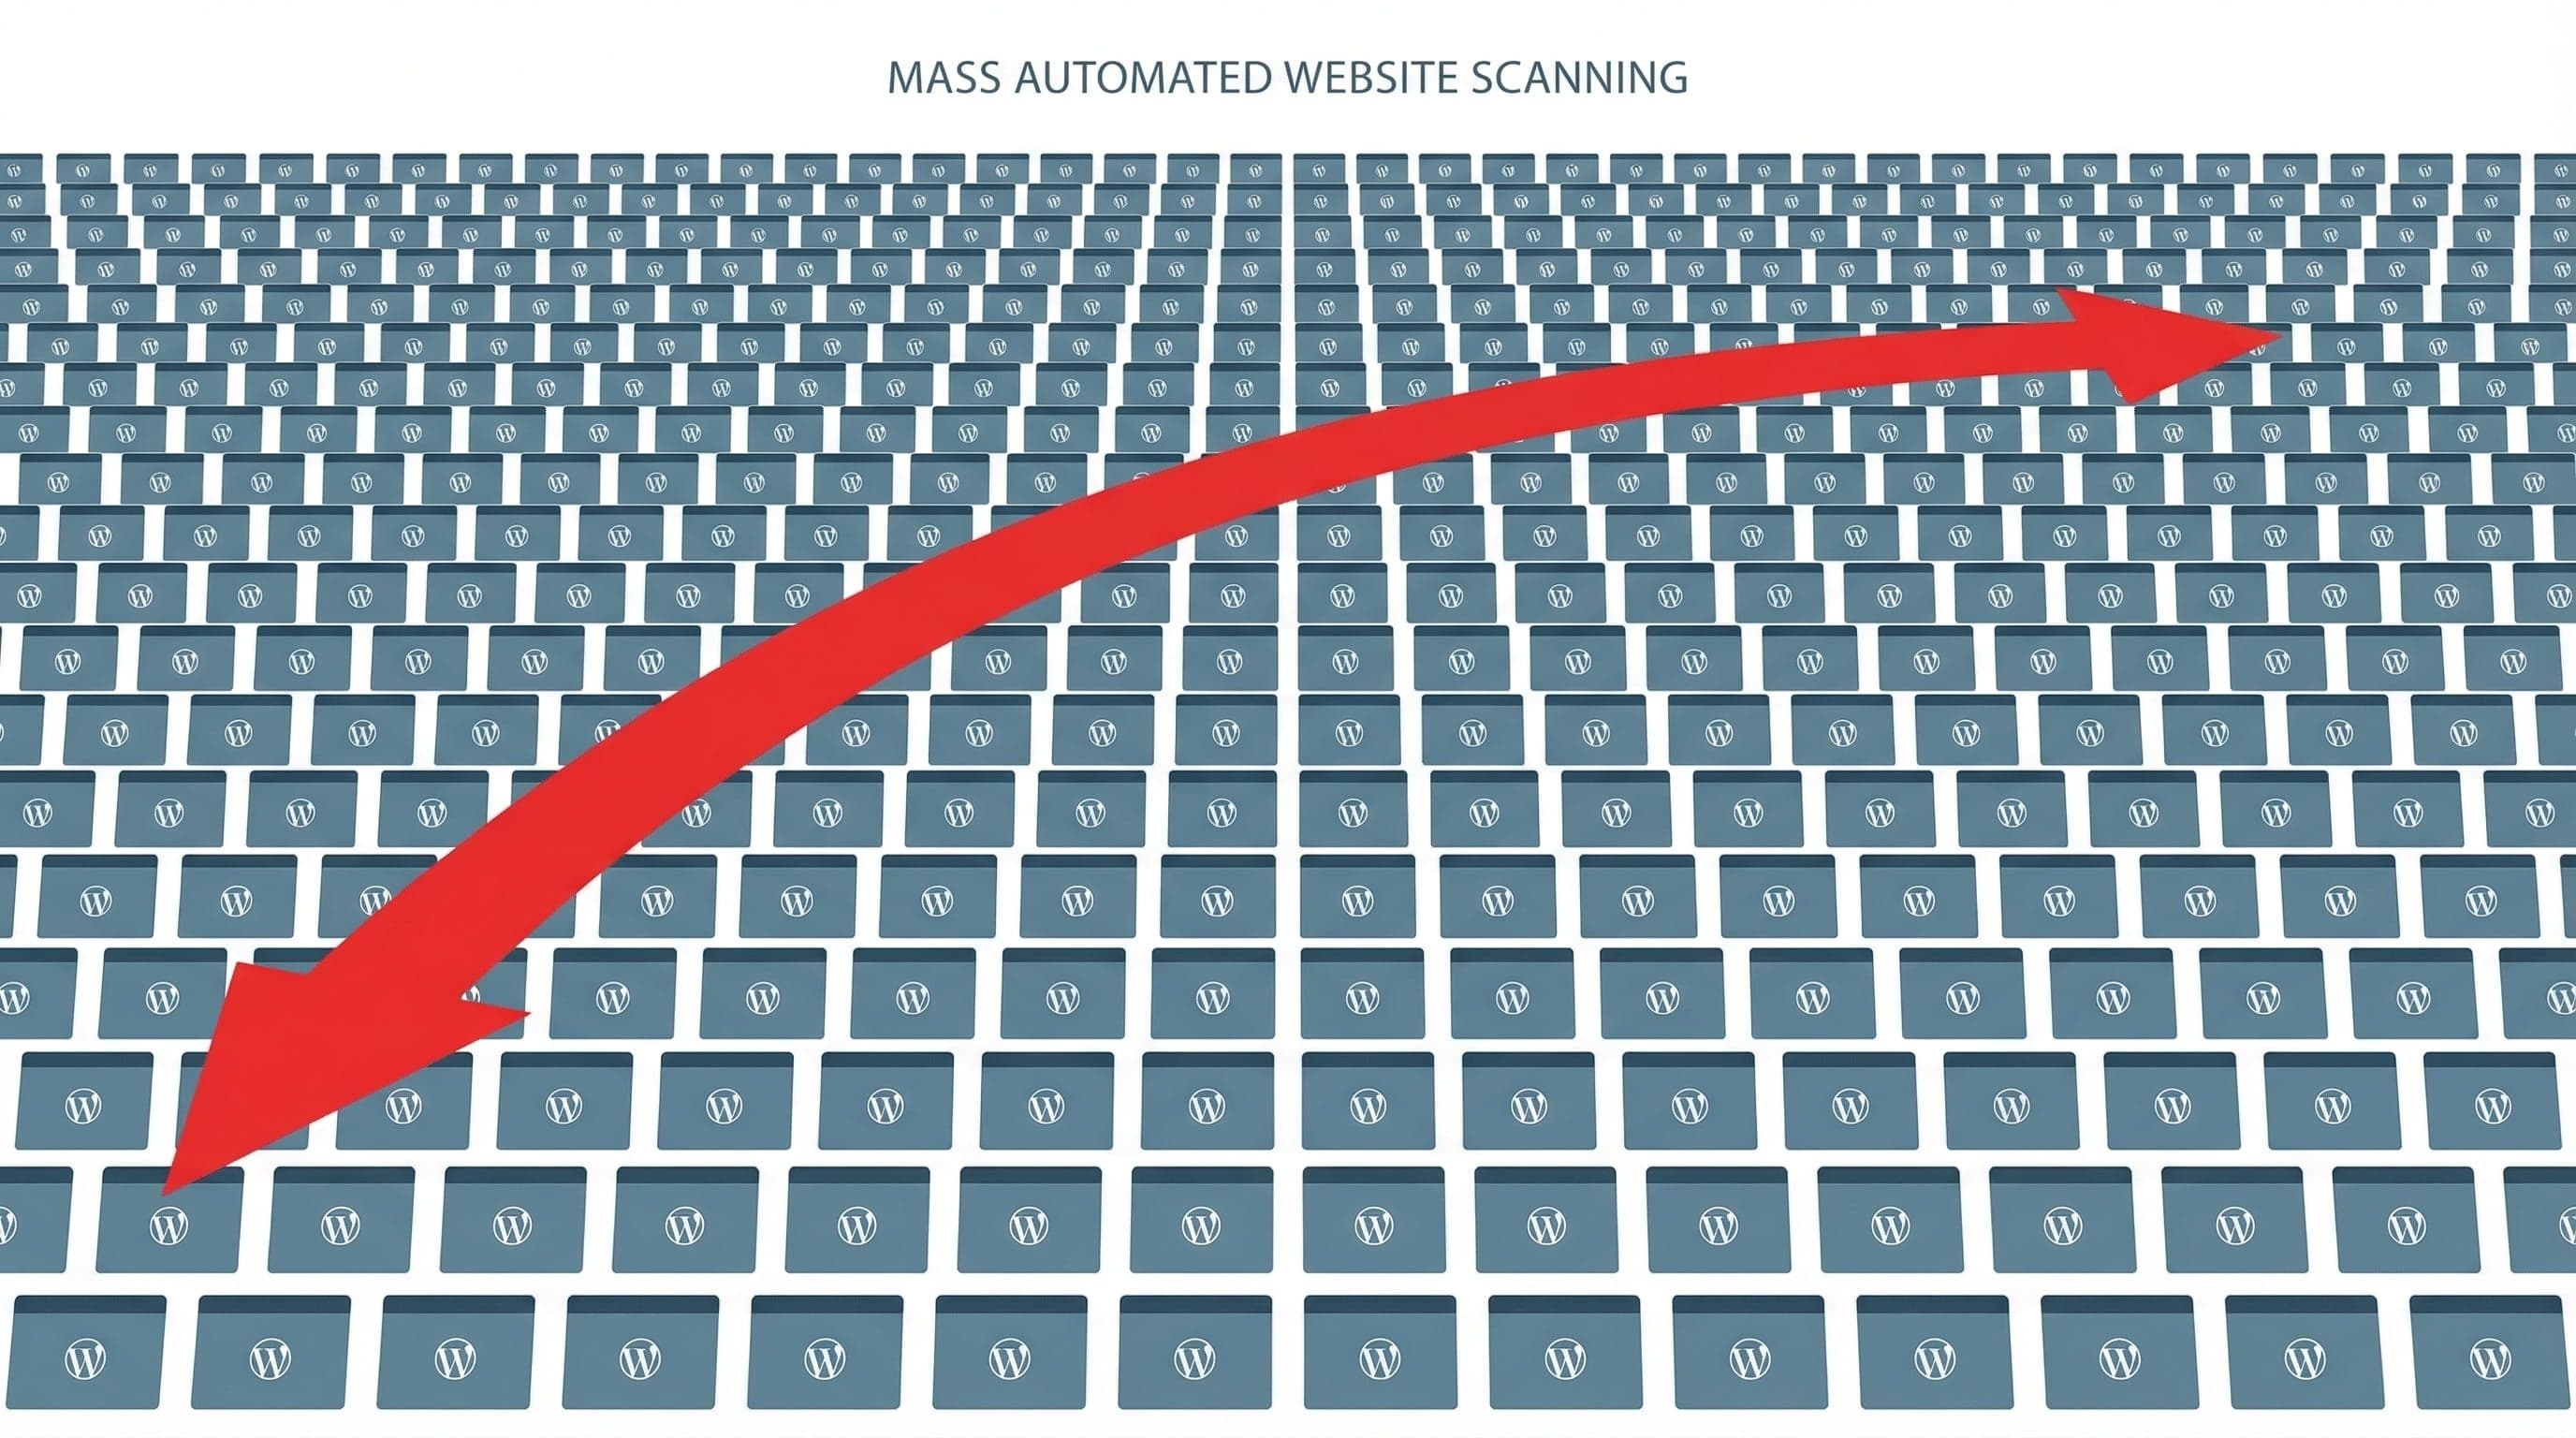
Your site does not need to be well-known or high-traffic to be a target. Bots are not selectively targeting businesses they have identified as valuable. They are scanning every IP address on the internet, identifying WordPress installations, and running automated attacks against all of them simultaneously. A brand new site with five visitors a week is being hit.
The question is not whether bots are testing your login page. They are. The question is whether your site is configured to stop them when they do.
What Happens to a Business When Login Attacks Succeed
Most business owners think of a hacked site in technical terms. The real consequences are commercial:
- A successful login gives the attacker admin access — they can redirect your homepage, inject spam links, plant backdoors, or lock you out of your own site entirely
- Brute force attacks generate server load even when they fail — on shared hosting, a sustained attack can slow your site to the point where legitimate visitors experience errors and leave
- Hosting providers monitor for unusual login traffic and can suspend accounts they identify as under active attack, taking your site offline while you wait for support
- If an attacker gains admin access and injects malware, Google blacklists your domain — which removes your site from search results and puts a warning screen in front of every visitor
- Recovery from a successful login breach takes days minimum and often requires professional help — at a cost that far exceeds what proper prevention would have required
The four protection layers below cost nothing beyond 30 minutes of setup time. The cost of not having them is measured in lost leads, downtime, and cleanup bills.
Most business owners I work with prefer having this configured from the start — so protection is in place before the site ever goes live, not after something goes wrong.
The Four Layers of Brute Force Protection That Actually Work
The goal here is not to install as many security tools as possible. It is to close the specific attack vectors that brute force bots rely on, using the minimum number of tools required to do it effectively.
Layer 1 — Change Your Login URL
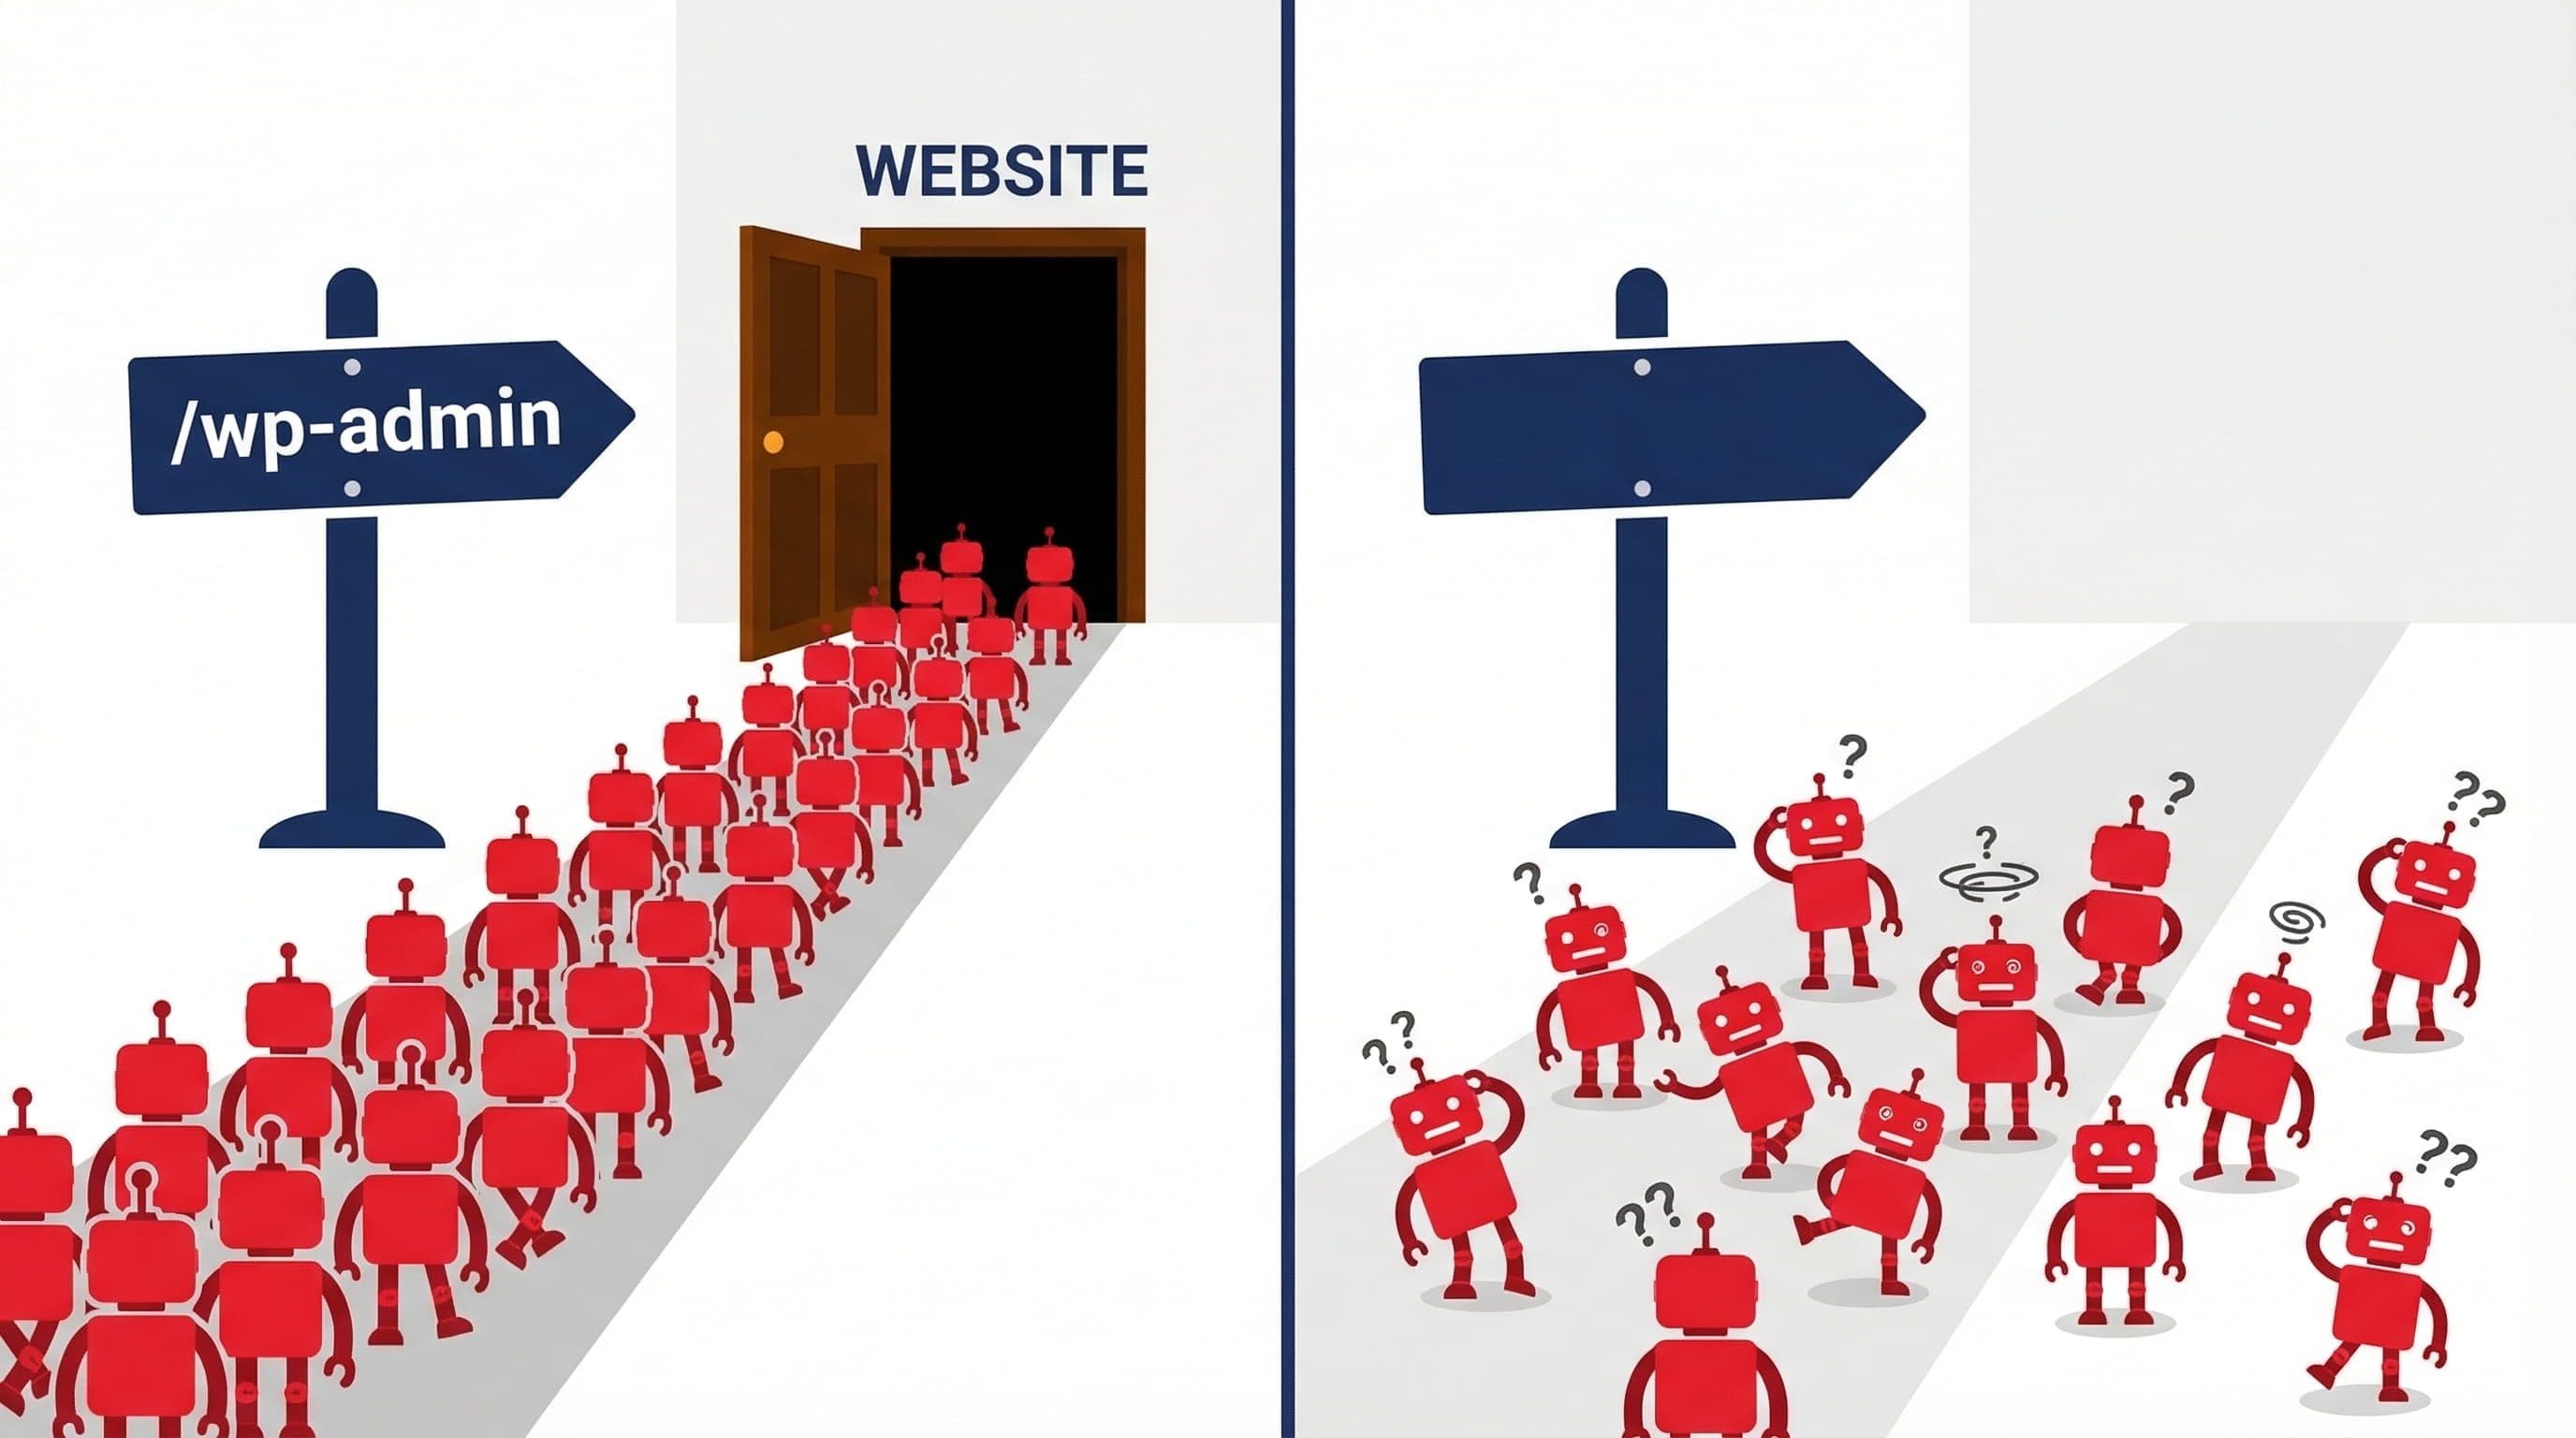
What to do: By default, every WordPress site's login page lives at /wp-admin or /wp-login.php. Every brute force bot on the internet knows this. Changing it to a custom path — something like /manage or /site-access — means bots cannot find the login page to attack it in the first place.
Use the free version of Solid Security (formerly iThemes Security) or WPS Hide Login to change the URL. Both are lightweight plugins that handle this single function without adding unnecessary overhead. Set your custom path to something non-obvious — not /login, not /dashboard, not /admin. Something genuinely obscure.
Why it matters: This is not security through obscurity as a primary defense — it is a filter that eliminates automated attacks before they reach your actual login mechanism. Bots that cannot find /wp-admin return a 404 and move on. Your login protection resources are then only engaged by traffic that has found the custom URL — which eliminates the vast majority of automated attacks entirely.
Pro Insight:
Save your custom login URL somewhere secure immediately after changing it. If you forget it, you can recover access via wp-login.php directly from the server — but that requires FTP access. Most people store it in their password manager alongside their admin credentials.
Layer 2 — Limit Login Attempts
What to do: WordPress accepts unlimited login attempts by default. A bot can try ten thousand passwords without any intervention from the site. Login attempt limits stop that by locking out an IP address after a defined number of failures.
Configure this through Wordfence (Brute Force Protection settings) or Solid Security (Local Brute Force Protection). Set the threshold to 3 failed attempts before a 4-hour lockout. Enable immediate lockout for attempts using the username 'admin' — if that username doesn't exist on your site, any attempt to use it is an automated attack.
Why it matters: Even if a bot finds your login page, it now has three attempts before being locked out for hours. A brute force attack cycling through thousands of passwords at three attempts per lockout period would take years to exhaust even a moderately strong password list. This single setting makes brute force attacks computationally impractical against your site.
Pro Insight:
Whitelist your own IP address before enabling lockouts. If you make three typos logging in from a coffee shop on a different IP, you can still access the site from your usual location. This prevents the lockout system from locking out the site owner.
Layer 3 — Enable Two-Factor Authentication
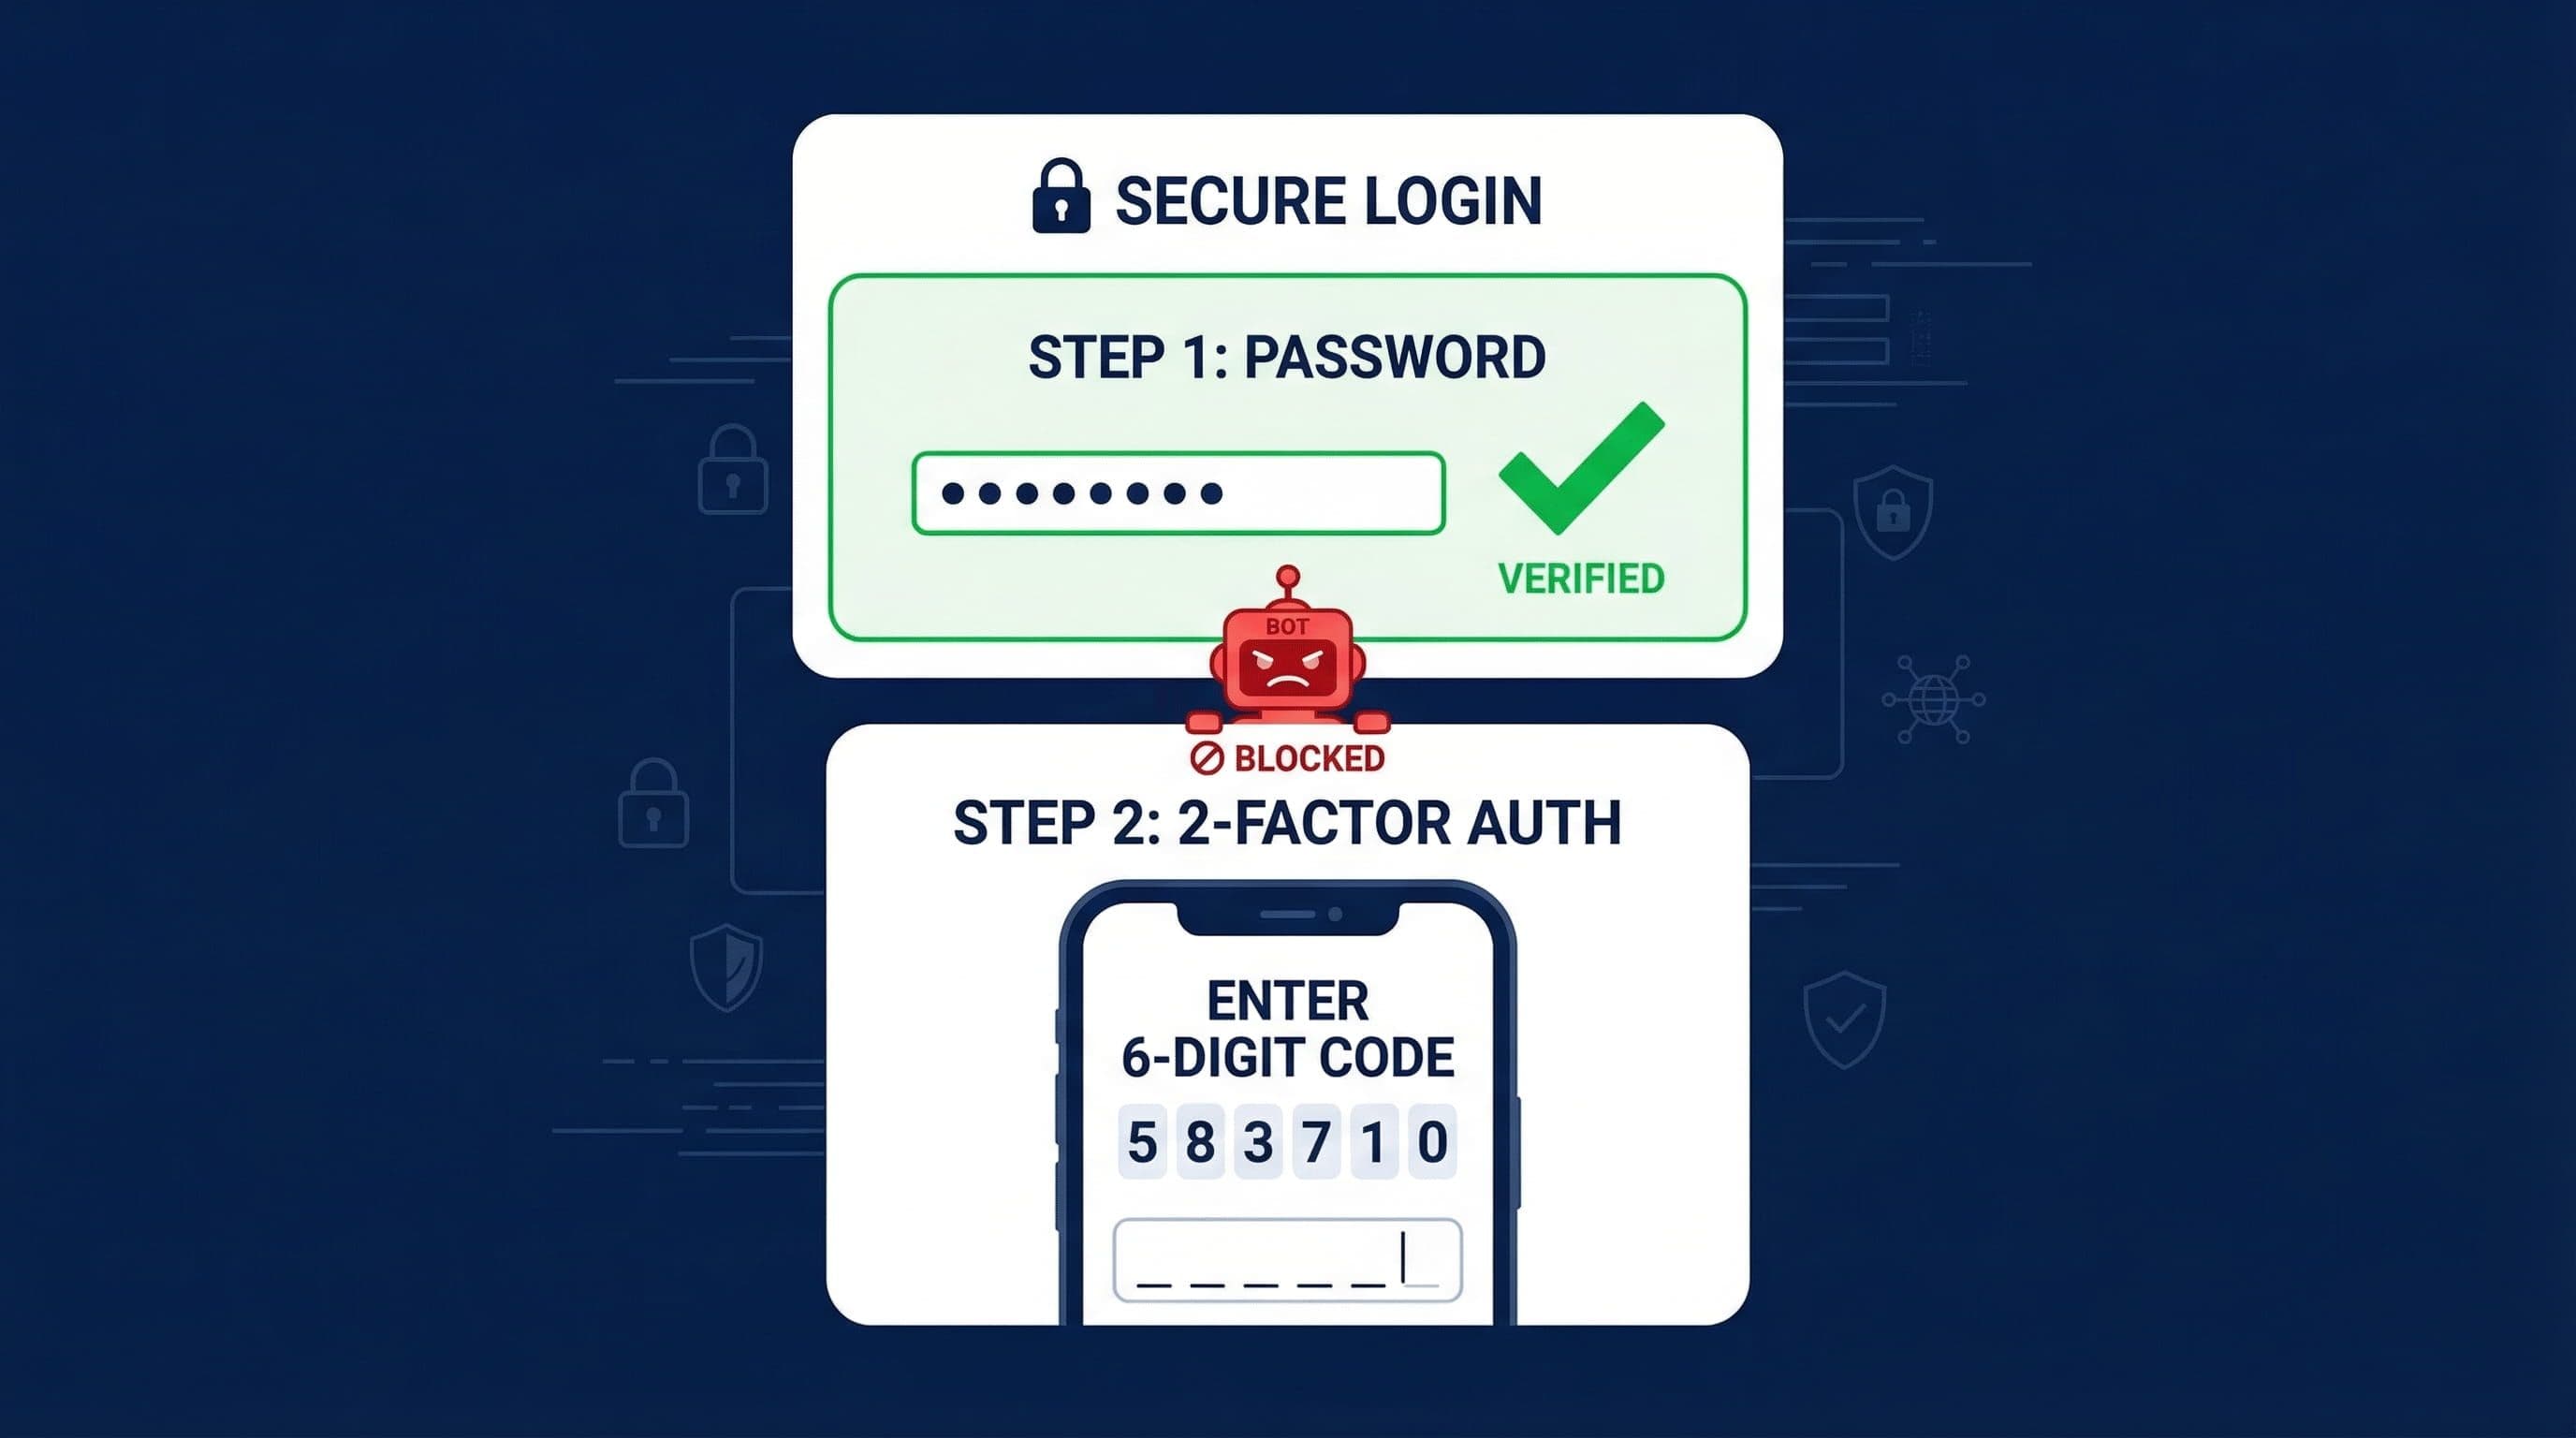
What to do: Two-factor authentication (2FA) adds a second verification step after the correct password is entered — typically a time-based code generated by an authenticator app on your phone. Even if an attacker obtains your exact password through a data breach, phishing, or a successful brute force attempt, they still cannot log in without physical access to your device.
Enable 2FA through Wordfence Login Security or Solid Security. Both support authenticator apps — Google Authenticator and Authy are the most reliable options. Enforce 2FA for Administrator-level accounts at minimum. If you have editor or contributor accounts, apply it there as well.
Why it matters: Password compromise is not always the result of a brute force attack. Data breaches expose credentials from other platforms constantly — if you reuse passwords across accounts, a breach anywhere puts your WordPress admin at risk. 2FA means a compromised password alone is not enough to gain access. It is the highest-impact single security measure available, and it is free.
Pro Insight:
Store your 2FA recovery codes in a password manager, not in your email inbox. Recovery codes are the fallback if you lose access to your authenticator app — storing them in email means anyone who compromises your email can also bypass your 2FA.
Layer 4 — Block XML-RPC
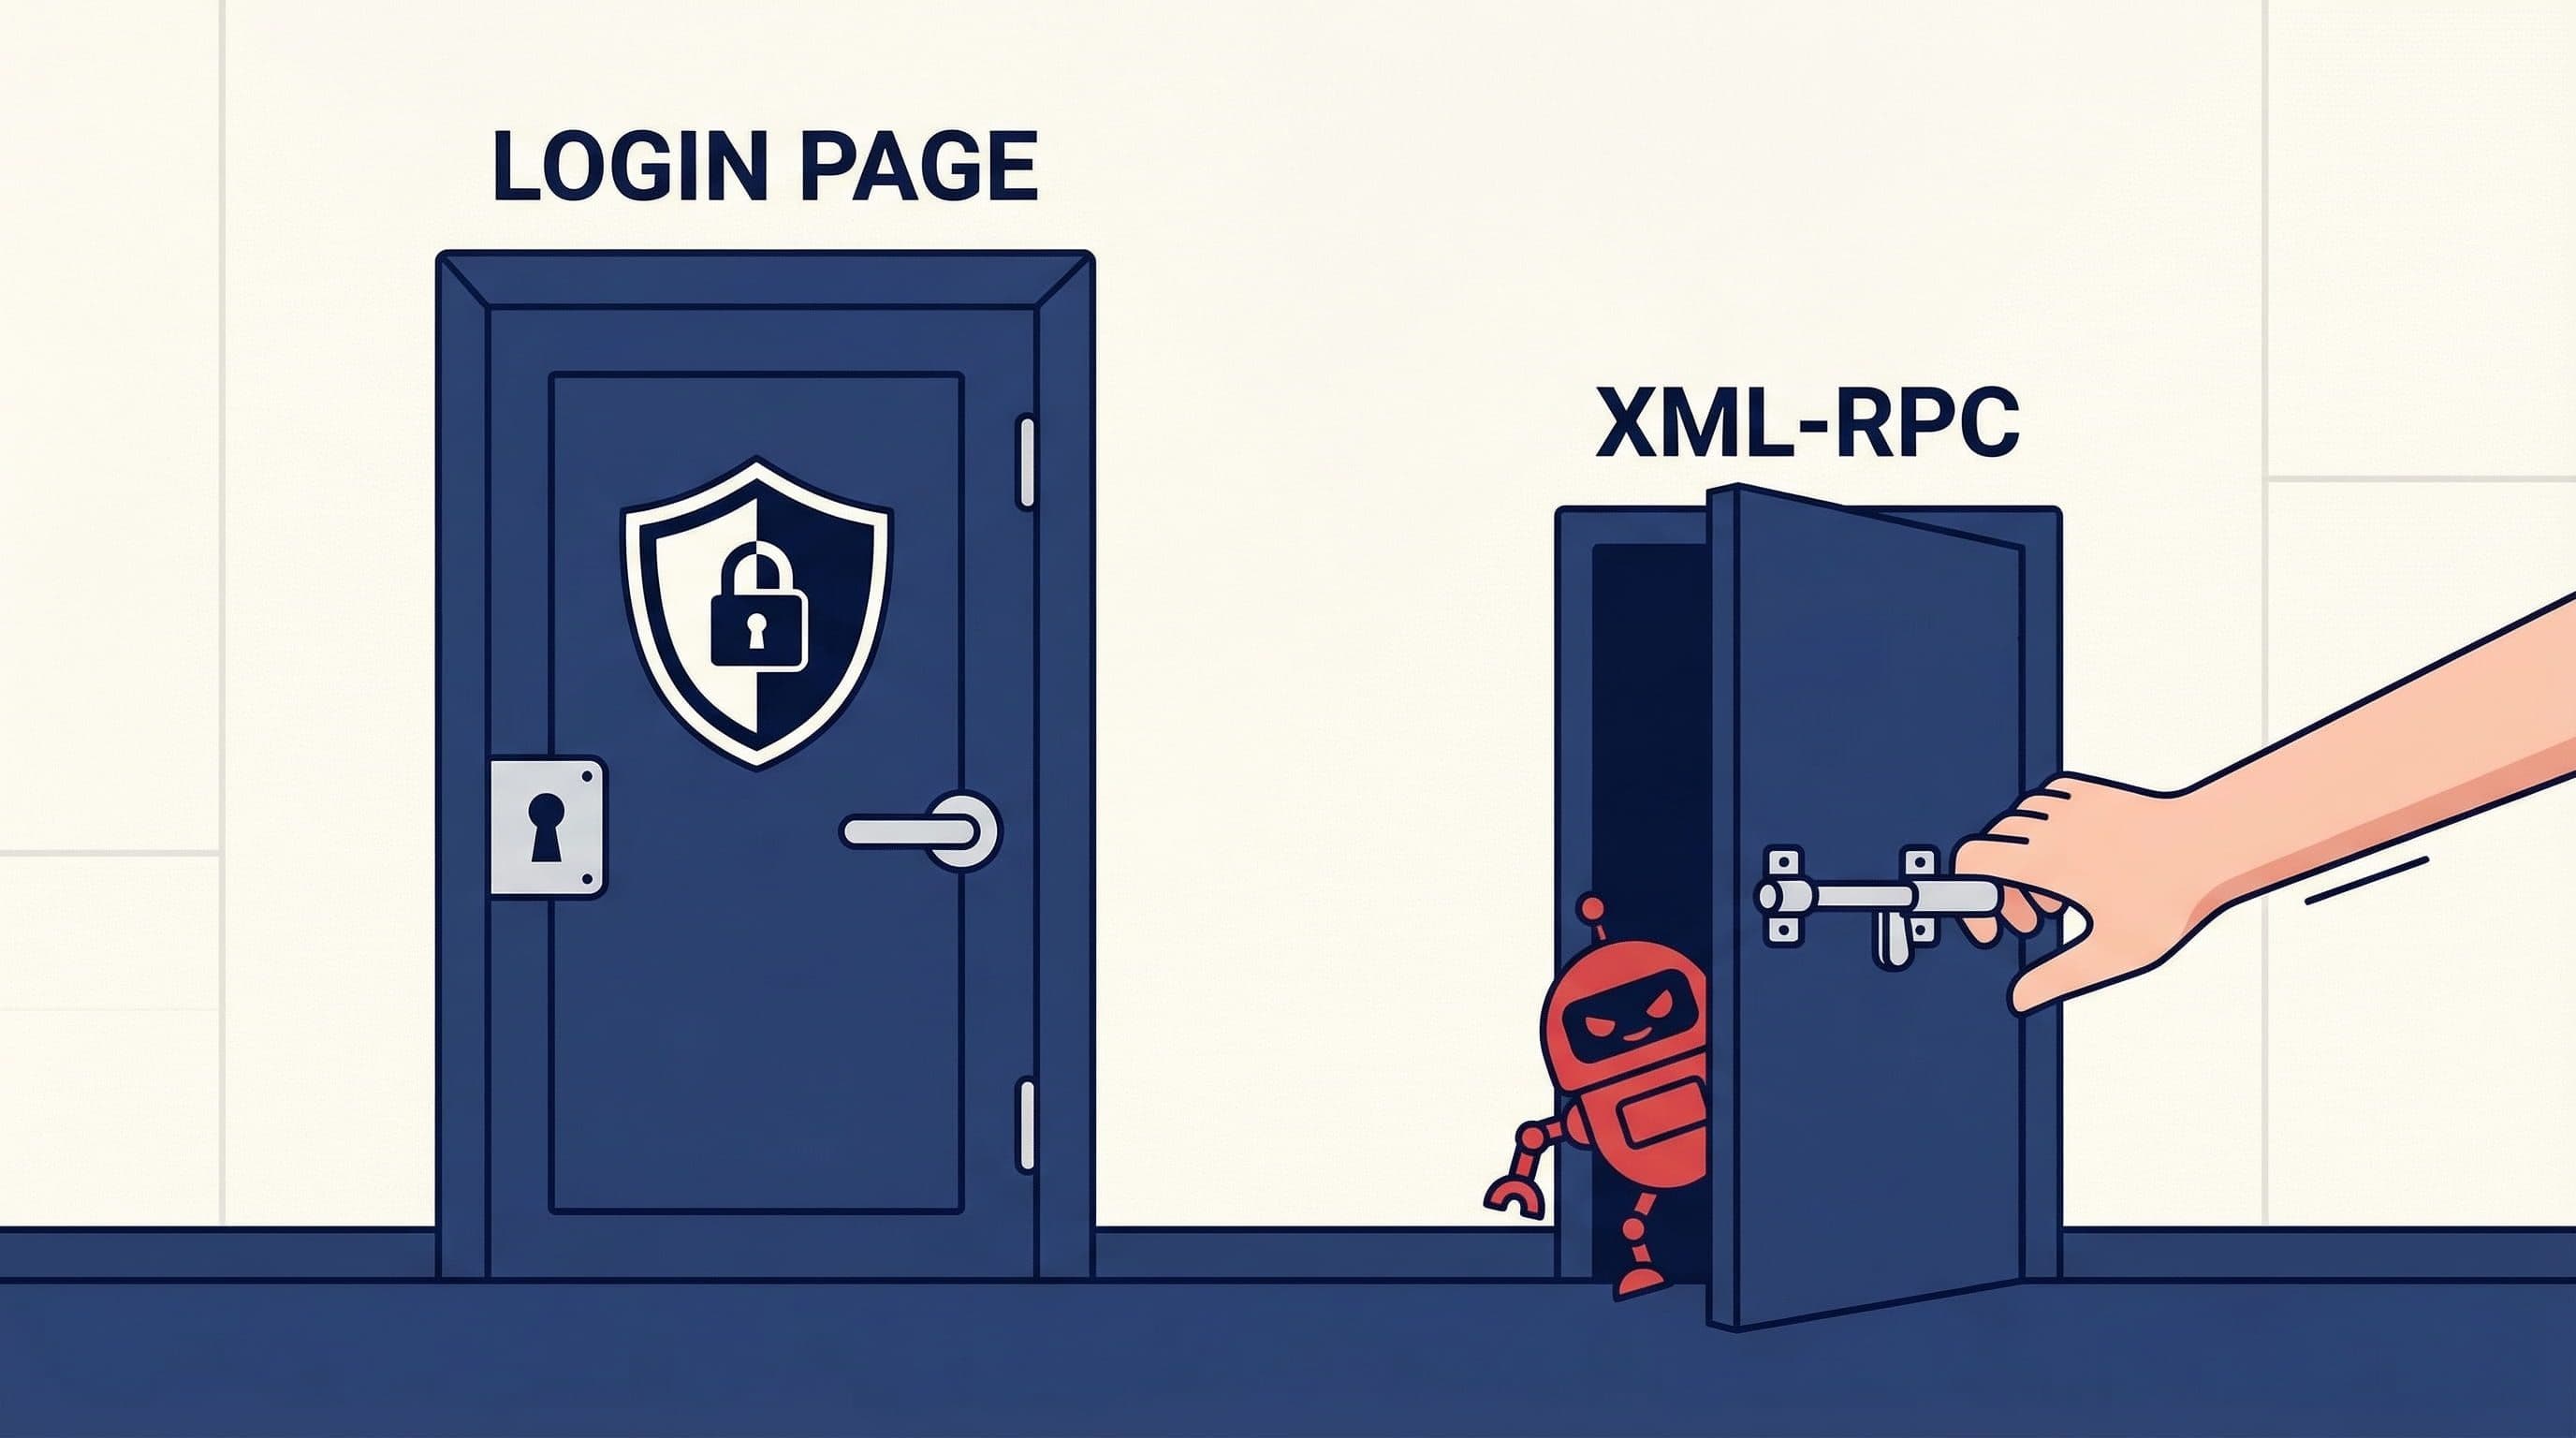
What to do: XML-RPC is a remote communication protocol built into WordPress that allows external applications to interact with your site — the WordPress mobile app, Jetpack, and certain publishing tools use it. It also exposes an alternative authentication endpoint that attackers exploit specifically because it bypasses standard login attempt limits.
Through XML-RPC, an attacker can bundle thousands of username/password combinations into a single request — bypassing the per-attempt lockout entirely. If you are not using the WordPress mobile app, Jetpack, or any integration that requires XML-RPC, disable it completely.
In Wordfence: All Options > Firewall Options > Block access to XML-RPC. In Solid Security: Security > WordPress Tweaks > Disable XML-RPC. If you need to keep XML-RPC for specific integrations, enable the option to disable XML-RPC multiCall — this blocks the batch attack method while preserving single-call functionality.
Why it matters: Login attempt limits protect the standard login page. They do not protect XML-RPC by default. An attacker who knows this can route their attack through XML-RPC and bypass every limit you have set. Blocking it closes a parallel entry point that most login protection configurations leave open.
Pro Insight:
Check whether you actually use XML-RPC before disabling it. Go to your hosting file manager and look for any integrations in your theme's functions.php or active plugins that reference xmlrpc. Most service business sites use none — but confirm before blocking.
Beyond the Basics — Additional Hardening Worth Considering
The four layers above handle the vast majority of brute force attack scenarios for a typical small business site. The following measures provide additional protection for higher-risk situations — sites with multiple admin users, sites that have been previously compromised, or businesses in competitive niches where targeted attacks are more likely.
IP Allowlisting for the Admin Area
If you and your team access the WordPress dashboard from consistent IP addresses — a fixed office connection or a static home IP — you can restrict /wp-admin access to only those addresses using a rule in your .htaccess file or through your hosting control panel. Anyone connecting from an unlisted IP receives a 403 error before even reaching the login page. This is the most restrictive and most effective option available, but only practical if your IP addresses are consistent.
Country Blocking
Wordfence Premium and Sucuri offer country-level blocking — restricting login page access to traffic originating from specific countries. If your business serves clients in a defined geographic region and you have no legitimate reason for admin access from other countries, country blocking eliminates a significant portion of international bot traffic. This feature requires Wordfence Premium ($119/year) — it is not available in the free version.
CAPTCHA on the Login Page
Adding a CAPTCHA challenge — Google reCAPTCHA v3 or Cloudflare Turnstile — to the login form creates a verification step that bots cannot reliably complete. This adds friction for automated attacks without requiring human visitors to solve puzzles (v3 and Turnstile work invisibly for legitimate users). Plugins like Login No Captcha reCAPTCHA handle the integration without requiring manual code changes.
Common Mistakes That Leave the Login Page Exposed
Using 'admin' as the Username
WordPress historically defaulted to 'admin' as the administrator username. It remains the first username every brute force tool tries. If your admin account still uses this username, change it. Create a new Administrator account with a unique username, transfer content ownership, then delete the old account. This single change eliminates a significant portion of credential-guessing attempts.
Installing Three Security Plugins to Handle One Job
Wordfence, Solid Security, and WPS Hide Login all running simultaneously is a common configuration on sites that have been incrementally patched over time. They compete at the authentication level, generate conflicting alerts, and add compounding performance overhead. One well-configured plugin handles everything covered in this guide. More is not more.
Setting Login Limits Too High
A threshold of 10 or 20 failed attempts before lockout provides almost no meaningful protection against a bot cycling through a password list. Three attempts is the right number. It stops automated attacks cold while being a minor inconvenience for legitimate users who mistype their password — they simply wait for the lockout to expire or use the password reset function.
Forgetting About the wp-login.php File After Changing the Login URL
Changing the login URL via a plugin makes the custom path work — but the original wp-login.php file often remains accessible unless you explicitly block it. Check this by visiting your-domain.com/wp-login.php after changing your login URL. If it loads, add a block for that file path in your Wordfence firewall rules or .htaccess file.
Not Enabling 2FA on All Admin Accounts
Enabling 2FA on your own admin account and leaving a secondary admin account without it creates a gap. Attackers who cannot breach the primary account will target every account with administrative access. If someone has editor or admin access to your site, they need 2FA. No exceptions.
The Exact Login Protection Setup Used on Client Sites
This is the standard configuration applied to every service business WordPress site:
Plugin Stack
- Wordfence Free — handles login attempt limits, 2FA, and XML-RPC blocking in a single plugin
- WPS Hide Login — lightweight single-purpose plugin for changing the login URL without adding Wordfence's full overhead if using Solid Security instead
- No additional security plugins — one tool, fully configured, not three tools partially configured
Configuration Applied
- Login URL changed to a custom non-obvious path, saved in the client's password manager
- Login attempts limited to 3 failures with 4-hour lockout, immediate lockout for 'admin' username attempts
- 2FA enabled on all Administrator accounts before handing over site credentials
- XML-RPC fully disabled — confirmed no active integrations require it
- Own IP addresses whitelisted to prevent accidental self-lockout
- Email alerts enabled for lockout events and new admin user creation
What This Protects Against
- Automated bot attacks targeting the default /wp-admin path — they hit a 404 and move on
- Credential stuffing from breached password databases — 3-attempt limit makes it computationally impractical
- Compromised password attacks — 2FA means the password alone is not sufficient for access
- XML-RPC batch authentication exploits — endpoint is blocked entirely
Total setup time: 25 minutes. Ongoing maintenance required: zero. This configuration runs silently and does not require regular attention once in place.
Related Articles
- How to Set Up a WordPress Security Plugin the Right Way (Step-by-Step for Non-Technical Users)
- Is the Free Version of Wordfence Actually Enough to Protect Your Business Website?
- The Best WordPress Security Plugin for Small Business Websites (2026 Honest Comparison)
Frequently Asked Questions
What is a brute force attack on WordPress?
A brute force attack is an automated method of gaining unauthorized access by systematically testing username and password combinations against the login page. Bots run these attacks continuously against all discoverable WordPress sites — not targeting specific businesses, but sweeping broadly for any installation with weak credentials or no login protection. Your site is being tested whether you are aware of it or not.
How do I know if my WordPress site is under a brute force attack?
Wordfence surfaces this clearly in its dashboard — the Live Traffic view shows blocked login attempts in real time, and the email alert system notifies you when thresholds are hit. Without a security plugin, signs of an active attack include unusual server slowdowns, a spike in bandwidth usage flagged by your hosting provider, or login failure email notifications from WordPress if those are enabled. Enabling Wordfence and reviewing the Live Traffic panel for 24 hours will show you exactly what is hitting your login page.
Does changing the WordPress login URL actually help?
Yes, meaningfully. The majority of brute force bots target the default /wp-admin and /wp-login.php paths. A custom login URL stops these automated attacks before they reach any authentication mechanism — the bot receives a 404 response and moves on. It does not stop a targeted, sophisticated attacker who investigates your specific site, but it eliminates the automated mass-scanning attacks that account for the vast majority of WordPress login attempts.
Can I stop brute force attacks without a plugin?
Some of the protections covered in this guide can be implemented without plugins — blocking XML-RPC and restricting wp-admin access can be done through .htaccess rules, and IP-level blocking can be configured at the hosting or server level. However, login attempt limits and 2FA require either a plugin or custom code. For a non-technical business owner, a single well-configured security plugin is significantly faster and more reliable than manual server-level configuration.
Will limiting login attempts lock out real users?
Occasionally — if a legitimate user misremembers their password multiple times. At a threshold of 3 attempts, this is uncommon in practice. When it does happen, the user sees a lockout message and can either wait for the lockout period to expire or use the password reset link, which bypasses the login form entirely. Whitelisting your own IP address prevents you from being locked out from your usual location regardless of failed attempts.
Is two-factor authentication necessary if I have a strong password?
A strong password protects against brute force attacks. Two-factor authentication protects against every other method of credential compromise — phishing, data breaches from other platforms where you reused a password, keyloggers, and session hijacking. Password strength and 2FA protect against different threat vectors. Both are necessary for complete login security. Enabling 2FA takes five minutes and requires no ongoing maintenance.